Before you begin
- Any role can create an internship.
- If the interns come from a partner school, connect that sending organization first. You can also add it later.
- Know roughly when the interns are travelling. Exact dates aren’t required.
Create the internship
1
Open the internships list
In the sidebar, select Internships.
2
Start a new internship
Select New Internship.
3
Choose the type
Choose Individual for a single intern, or Group for several.Group is the usual choice. Individual fixes the planned count at 1, so pick
Group if there’s any chance a second intern joins.
4
Choose the sending organization
Select Select sending organization… and choose the school or agency,
then select Next.This step is optional — select Next to skip it if the partner isn’t
confirmed yet.
5
Set the dates
Choose how firm your dates are:
- Exact dates — travel is booked and the dates are fixed.
- Preliminary window — you know roughly when, not precisely. You also have to say how many days of internship fall inside that window.
6
Name it and finish
Give the internship a name, set the intern count if it’s a group, and
choose at least one field of expertise — that one is required, and it’s
what drives which host firms get recommended when you start calling.Keep the name short; the list truncates long ones.
Result
The internship appears in your list with the status Requested and no interns assigned yet. Preliminary dates show with a~ in front of them.
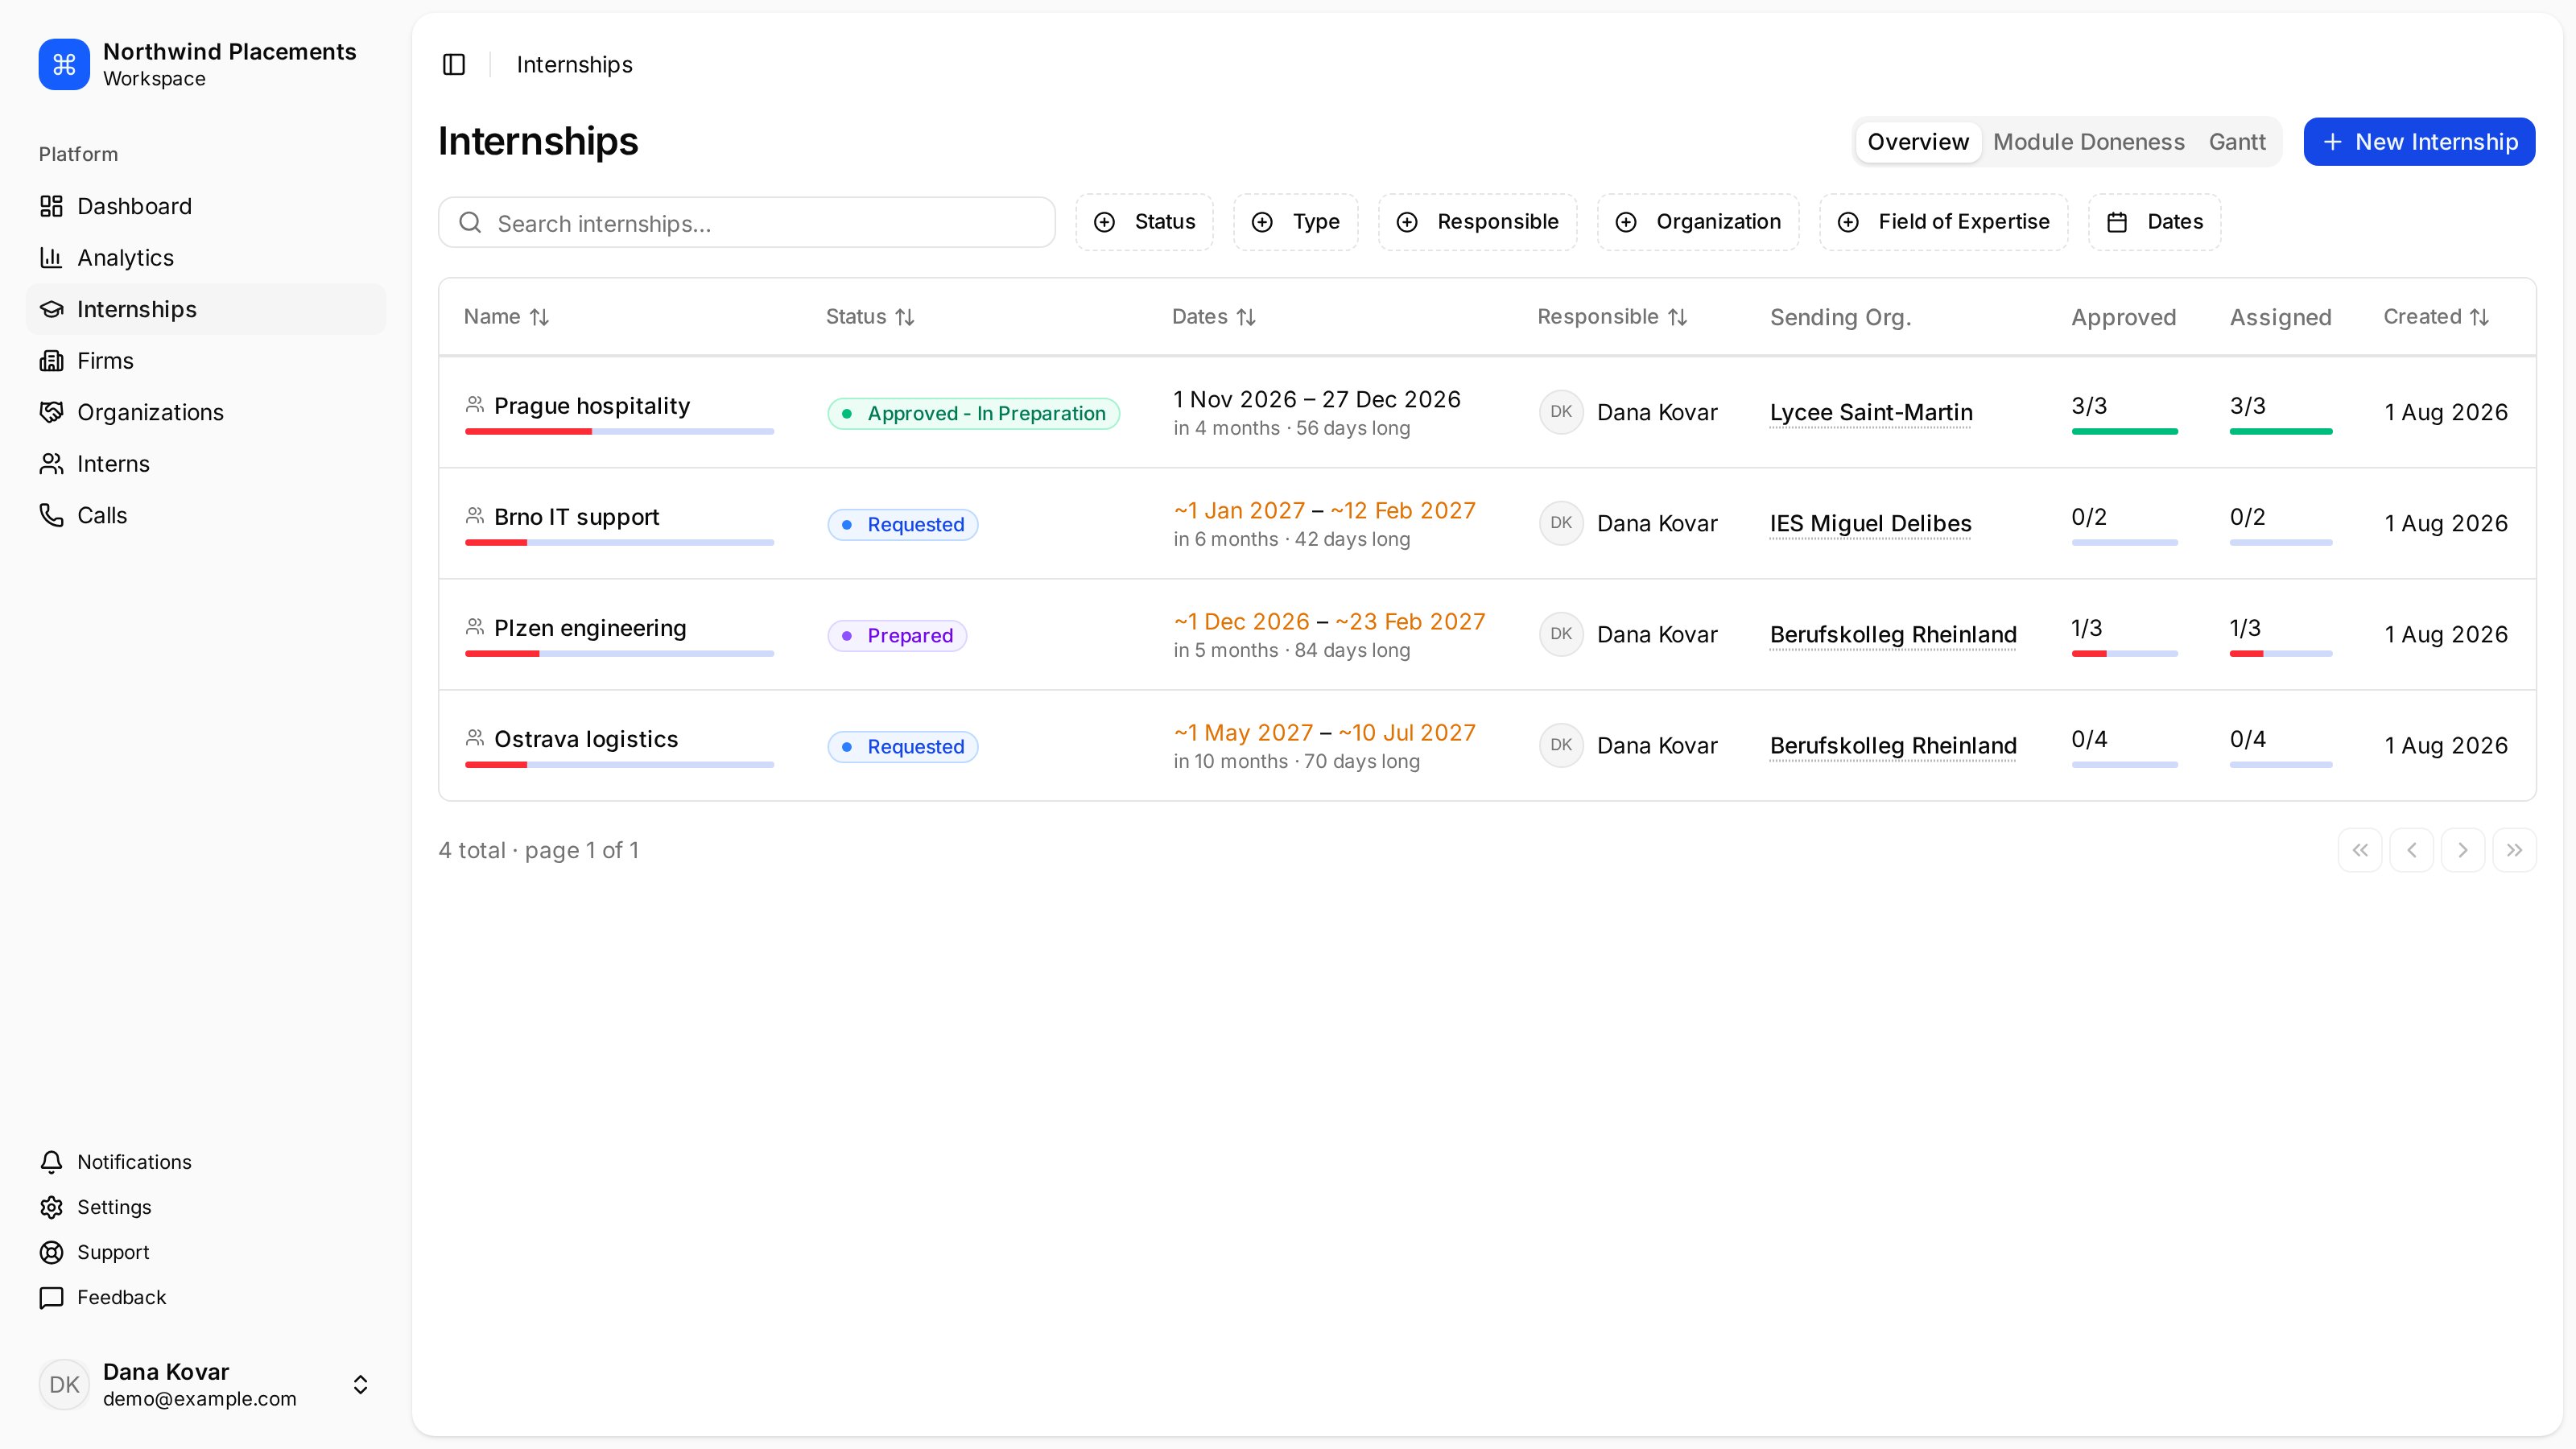
Newly created internships appear as Requested with no interns assigned.